Campaigns
Periodicity of contacting Business accounts and Contacts
In each Business account record and contact, you can set how often the record should be contacted. Based on the values in the “Periodicity”, “Last contact”, and “Next contact” fields, when you send an e-mail message within a campaign, it is automatically decided whether the e-mail can be sent to that e-mail address.
Rules of contacting Business account and Contact
If the “Periodicity” field for a Business account or contact record is not filled in, it is possible to contact him without restriction. When you send a campaign e-mail, the “Last contact” and “Next contact” fields are filled with the current date.
If the “Periodicity” field in the Business account or contact record is filled in, then when the campaign is sent to the Business account or contact record, the current date is stored in the “Last contact” field and the current date shifted in the “Next contact” field. according to the value stored in the “Periodicity” field.
If the Business account record or contact is included in the campaign before the value stored in the “Next contact” field, then the campaign e-mail address is not sent to the Business account record or contact e-mail address. E-mail addresses excluded in this way within one campaign are stored in a special activity (marked in red).
Marketing lists
The marketing lists (marked A-C) show all records of Business accounts and contacts that have marketing enabled (they have the “Permit marketing” field checked). It is possible to select between filtered Business account and contact records and assign them to one of the marketing lists in bulk. You can assign any Business account and contact record to the selected marketing list on the “Marketing List A-C” view pages (“CRM/Campaigns/Marketing List A-C”). On each view page, it is necessary to check the box in the first column “List A-C”, if the given record is to be assigned to the selected marketing list.
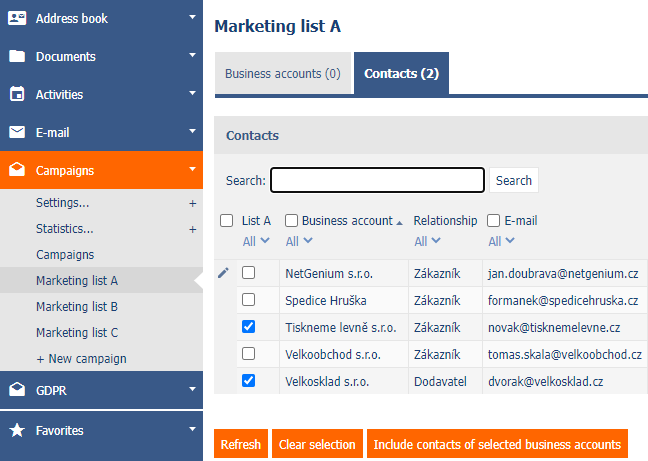
The Business accounts and contacts selected in this way are then displayed in the campaign when one of the marketing lists is selected. There are exactly 3 marketing lists, namely marketing list A, B or C. Each Business account and contact can belong to one, two or even all three marketing lists. Also, the Business account or contact does not have to be assigned to any marketing list.
Creating e-mail message templates
You can create a new message template on the “Message Templates” view page (“CRM/Campaigns/Settings/Templates”). Patterns can be created by uploading a zip archive to the “Template” field and pressing the “Load template” button. After pressing this button, an attempt is made to find a file named “index.html” in the embedded archive. If the mentioned file is found, its content is transferred to the “Header” and “Message” fields. Otherwise, an error message is displayed to the user.
You can also insert variables (eg “[SALUTATION]”) into the newly created text in the “Message” field, which will be replaced by texts retrieved from the NET Genium database when the campaign is submitted. Learn more about using variables below.
Basic settings
The basic settings of campaigns can be changed in “Settings” (“CRM/Campaigns/Settings”). Filling in the fields in the form “Campaign settings” is a necessary condition for the proper functioning of campaign submission!

The “General salutation” field is used to replace the “[SALUTATION]” variable in the outgoing campaign e-mail message if the Business account or contact record does not have the “Salutation” field filled in the database. The “Domain” and “URL” fields are links that are used to unsubscribe from campaigns or count the e-mails read.
“General” tab
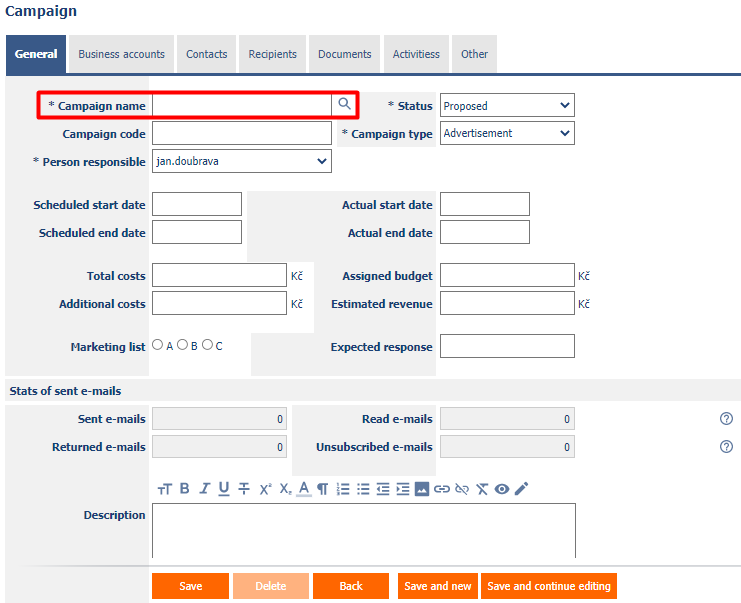
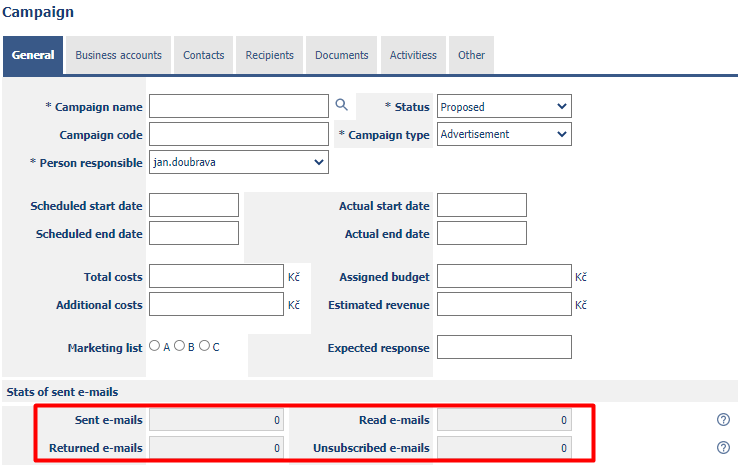
At the top of the “General” tab are fields with basic information about the campaign. Next to the “Campaign name” field is a picker control that lets you copy data from a previously created campaign record into a newly created campaign. In addition to the basic data, the content of the e-mail message is also copied.
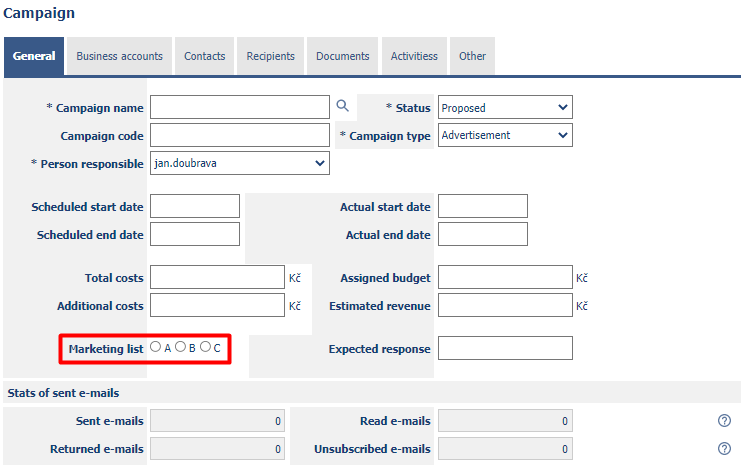
In the “Marketing list” field you can set the marketing list that will be used for sending e-mails. Only one marketing list can be used for each campaign.
Below the “Marketing List” field, you'll see statistics for the currently open campaign. For the statistics to work properly, it is necessary that the variables in the sent e-mail are filled in correctly (see below).
“Business accounts” and “Contacts” tabs
The “Business accounts” and “Contacts” tabs display Business account and contact records that fall into the selected marketing list in the “Marketing List” field on the “General” tab.

“Recipients” tab
This tab is used to:
- compose the list of recipients,
- compose e-mail message
- and final sending of the e-mail to all selected recipients.
“Load list of recipients” and “Remove invalid addresses” buttons
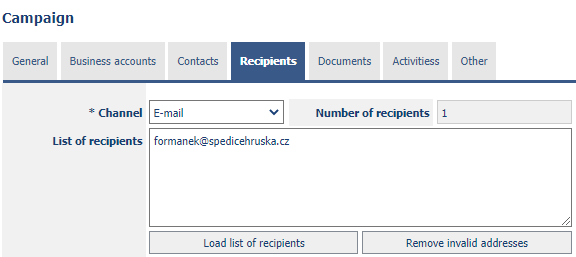
Pressing the “Load list of recipients” button will load all recipients from the selected marketing list. Additional e-mail addresses can be entered manually in the “List of recipients” field. These addresses must be separated by a comma or semicolon.
Pressing the “Remove invalid addresses” button in the “List of recipients” field will remove:
- duplicate e-mail addresses,
- e-mail addresses that do not have mass e-mails enabled
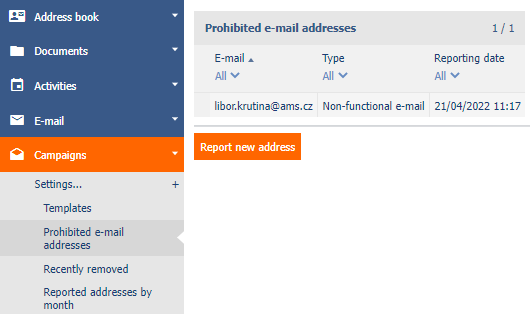
- and e-mail addresses that are displayed in the “Prohibited e-mail addresses” table.
If the user does not press the “Remove invalid addresses” button and the “Recipient list” field will contain the Business account or Contact e-mail address, which would be deleted from the recipient list by pressing the “Remove invalid addresses” button, so an e-mail will also be sent to this e-mail address.
Field “Message”
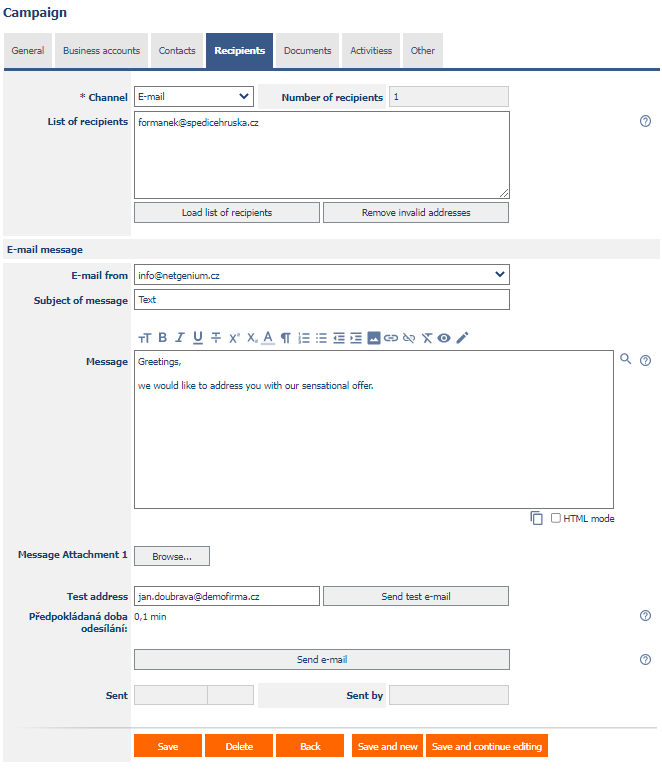
The “Message” field contains the content of the e-mail being sent. You can insert variables into the content of an e-mail message. Entering variables is not required, but for example, for campaign statistics to work properly, pasting variables into the message content is required. The inserted variables are always replaced by specific texts retrieved from the NET Genium database when sending an e-mail message. Variables that can be inserted into the body of an e-mail include:
- [LOGOUT] – Inserts a link to unsubscribe from e-mail marketing correspondence, after clicking on the link, a confirmation of unsubscribe will be displayed. The “Permit mass mailing” box will be unchecked for that contact entry. The change date will be listed with the user in the contact history.
- [SALUTATION] – Inserts a salutation (“Salutation” field) from the Business account record, contact or campaign settings. If the Business account record is not found according to the e-mail address or the “Salutation” field of the given Business account record is empty, the contact record is searched according to the e-mail address. If the contact entry fails to fill in the salutation text (according to the same rules as for Business account), the salutation is taken from the campaign settings.
- [READ] – Inserts the tracking code into the e-mail. If the e-mail is read, the reading date is inserted in the e-mail.
- [BROWSER] – Adds a link to open the campaign in the browser in the e-mail
Variables can be placed anywhere in the e-mail message. You can use the picker next to the “Message” field to retrieve a message from the pattern. If the campaign is copied from a previous one, there is no need to reload the message.
“Send test e-mail” button
The „Send test e-mail” button is used to send a test e-mail to the specified test e-mail address. Test e-mail is not included in campaign statistics. All variables are replaced, but no activity is created for this e-mail, so it's not possible to unsubscribe or open this e-mail in a browser.

“Send e-mail” button
The “Send e-mail” button, which sends e-mail to all selected e-mail addresses, is located at the end of the “Recipients” tab. Before sending an e-mail to individual e-mail addresses, it is checked whether the Business account or the contact to which the e-mail address belongs can be contacted (according to the date in the “Next contact” field). If the date of the next contact is later than the current date, the e-mail is not sent. A list of all unsent e-mails is displayed in the activity with the subject “Unsent E-mails” on the next tab (“Activities”). An activity is created for each e-mail you send. Activities are paired to Business account or contacts if they are stored in the database. After sending the e-mail, the field “Sent” (date) is filled with the current date and the field “Sent by” with the login name of the currently logged in user.

“Activities” tab
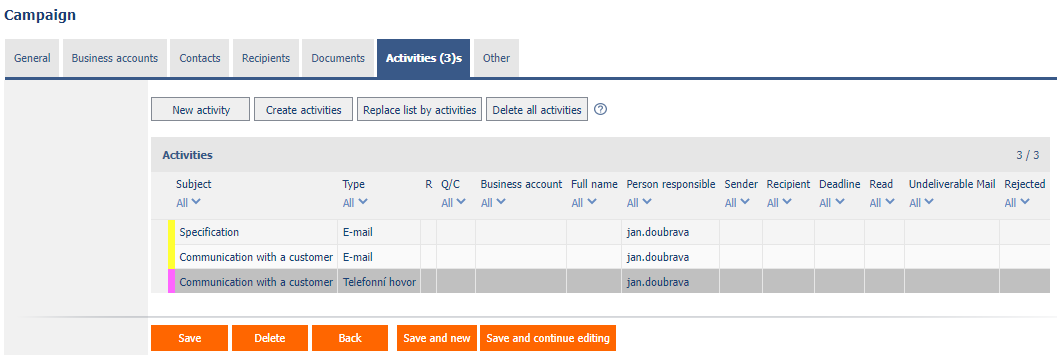
On the “Activities” tab, there is a “Activities” table showing all sent e-mails (activities in yellow). If there are e-mail addresses to which the e-mail message could not be sent, then the “Activities” table also shows the activity in red. This activity contains a list of e-mail addresses to which the e-mail message was not sent.
Unsubscribe
If the user unsubscribes from the newsletter, this information is recorded either directly in the Business account or contact record by not checking the “Permit mass mailing” box.
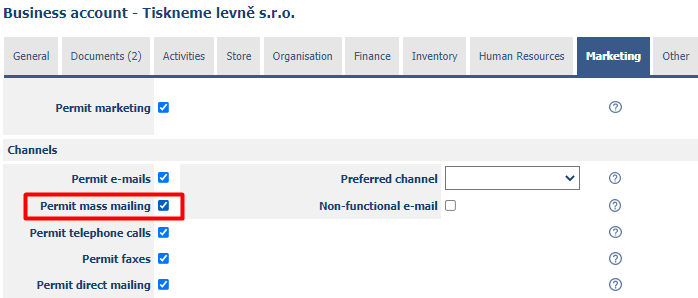
If the recipient of the e-mail message unsubscribes from the newsletter and at the same time the given e-mail address is not found in any of the Business account or contact records, a new record is created for the unsubscribed e-mail address in the “Prohibited e-mail addresses” table.
